Showing posts with label Swaps. Show all posts

Sunday, 23 September 2018

Pinkies Team Training Day - Kids & Babies Swap Group

TWINKLE TWINKLE BABIES MOBILE


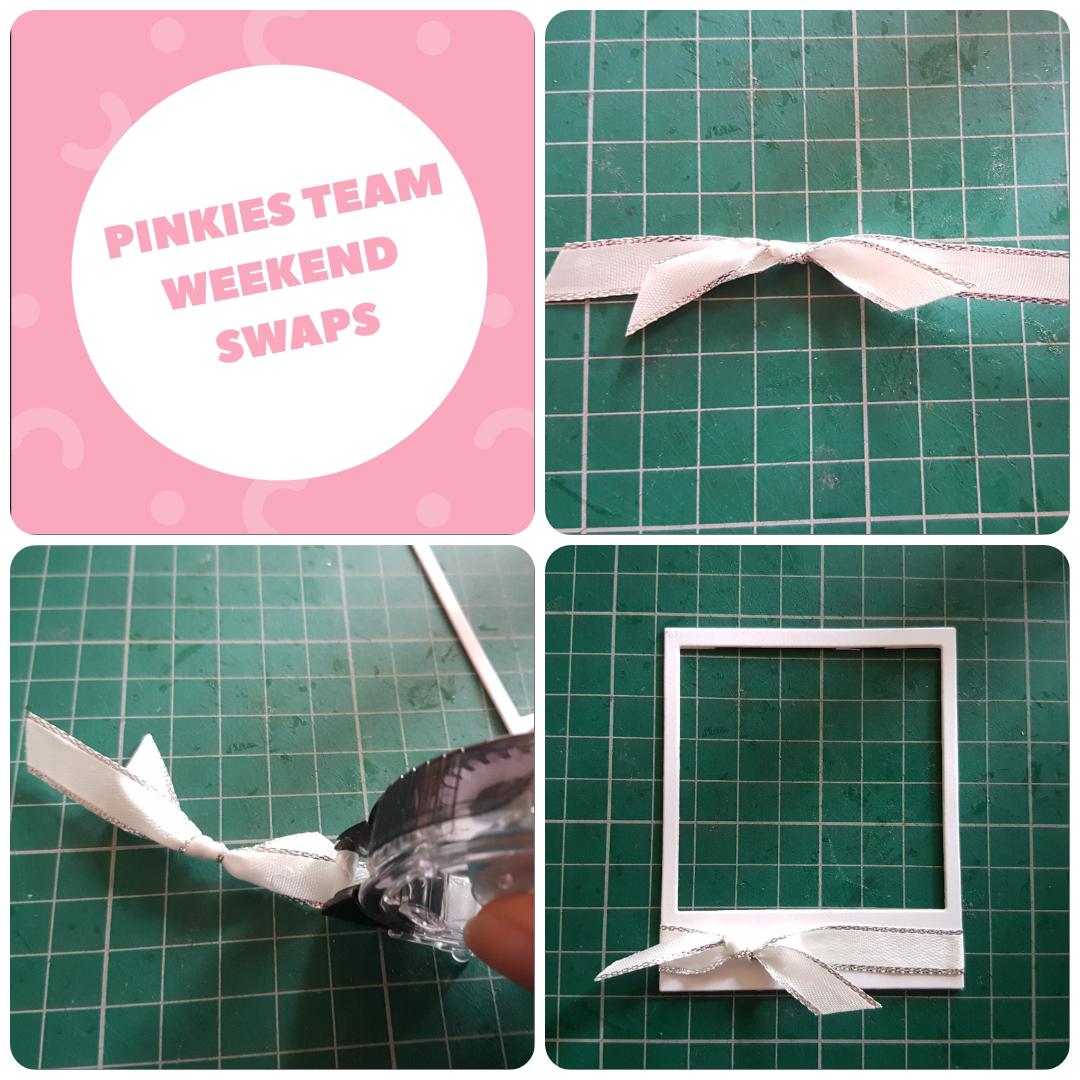
Today I do not have a tutorial for you but wanted to share a project I made for the PINKIES TEAM training day this weekend.

Normally we would make a number of simple swaps (anything from 50 to 100!) and get that number in swaps back. For this training day we were to choose a swap group to participate in, which was for 6 people and had a particular theme. Having fewer people in each group meant we could create a more detailed swap!
I chose the 'Kids & Babies' group. For this we were to create a project using the stamps from the Kids and Babies section of the Annual Catalogue. Of course I had to use almost everything from the Twinkle Twinkle Suite!

It took me a while to decide what I wanted to make, maybe a gift box, maybe a nice shaker card... then I had a light bulb moment while at my parents home. They have a lot of wind chimes and dream catchers (which I love). This project is not an unusual idea, nor something new, but what a fab way to use your stamps, punches and embellishments for adorable handmade home decor and gift projects.
Once I had sketched out my design and figured out how I was going to go about putting them together, they surprisingly did not take long to make. They can be as detailed or as simple as you like. I made 3 in pink, 3 in blue, wrapped each in stamped tissue paper and packaged in a hand made envelope using the lovely Twinkle Twinkle designer series paper. I absolutely love how I was able to make matching gift packaging thanks to the amazing coordinating products.

This sort of project is a perfect little handmade gift idea and super easy for sending in the post!
You do not have to just use clouds and stars; why not try this with our cute baby elephants, flying pigs, hot air balloons, butterflys, bats, ghosts or even flowers... adapt it to your recipient, young or old! Add beads, bells, charms or small chimes. The creativity is endless!

So, here is what you will need to create this cute Twinkle Twinkle Babies Mobile:

What I used:
Little Twinkle Bundle (148414)
Up & Away Thinlits (142748) - Clouds
Wood crate Framelits (143730) - Large Stars
Pretty Lable Punch (143715) 

Pool Party Card Stock (124391)   
Petal Pink Card Stock (147009)           
Silver Foil Sheet (132178)
Sparkle Glimmer Paper (146957)
Whisper White Card Stock (106549)

Twinkle Twinkle Designer Series Paper (146284)

Silver & Pool Party Bakers Twine (147015)
Silver & Petal Pink Party Bakers Twine (146288)

4" Metal Dream Catcher Hoop - 6 Pack or Single Hoop
White Tissue PaperEbay

Inks;
 Pool Party &/or Petal Pink


Stamping on tissue paper adds a lovely effect to basic gift packaging.


Add a bellyband and simple embellishment to complete your gift envelope.

Hope you like this cute gift idea and give it ago yourself!
I really enjoyed making these and hope my swap partners love them. Swaps are optional but are a brilliant way to get lots of ideas and inspiration from fellow demonstrators, but this is also something you can do with a group of friends. 

If you would like to purchase any of the products you see here, click 'Shop Online' which can be found on the top right of my blog, or feel free to get in touch with any questions.
I will do a follow up swap video shortly to share with you the ideas and creations I got back from other Demonstrators in this swap group :)

Happy Crafting,
      AMIE

Read more »

Monday, 18 June 2018

Pinkies Birmingham Weekend Swaps ~ Polaroid Fridge Magnets


This weekend was the Pinkies team training weekend in Birmingham. Its a fantastic weekend of crafting, training and inspiration with fellow demonstrators who are apart of the Pinkies team. A chance to catch up with friends and make new ones. 
During this event, like at most Stampin' Up! events, we exchange 'swaps'. For this you create a number of the same project idea or samples (in this case 37) to swap with other demonstrators, you will then receive 37 different projects in return giving you a lovely range of new ideas and items for your sample boards to show customers. These projects can range from cards and book marks to 3D items and gift ideas. Its an amazing and fun way to meet new people and get lots of extra inspiration.

For my swaps I decided to make Polaroid Fridge Magnets, but not the photo kind (of course you could swap the sentiment out for a photo). I wanted to incorporate the idea of using a supportive and encouraging sentiment that could be meaningful to someone, particularly to a person suffering with Anxiety or Depression. So for some of the swaps I included the sentiment 'You Matter' from the Around The Corner stamp set (147464) which was just perfect. 
For others I used the sentiment 'Hello there', but you could change the sentiment to fit any occasion or recipient. 

What you will need:
Thick Whisper White Card Stock (140490) - 2 3/4" x 3 3/8" (x3)
In-colour 2018-2020 DSP (146963) - Big enough for frame or centre piece.
In-colour 2018-2020 Card Stock (106549) - For die cut flower embellishment.

Petals & More Thinlits (145655)
Silver 3/8" Metallic Edge Ribbon (144213)
Rhinestone Basic Embellishments (144220)
Layering Square Framelits (141708) 
Silver Embossing Powder (109131) 

Inks; Versa Mark.

1) Cut your three pieces of Thick Whisper White card stock. One for your base, two for your frame.
2) Use your Layering Square Framelit to cut a square out of the two panels near the top of the card stock leaving a small frame. This is to create your 'window' to get your Polaroid panel.
3) Use the same square framelit to cut your chosen designer series paper.
4) Glue both Polaroid panels together. The extra thickness gives it more stability, and of course a touch of dimension to the frame.
5) Cut two pieces of ribbon. One long enough to go around the bottom of your Polaroid, and one to tie a knot with.
6) Tie a knot or bow in your ribbon and glue to the base of the Polaroid with snail adhesive.

7) Glue the Polaroid panel to your Thbase panel.
8) Attach or glue on your magnetic strips to the back.
9) Heat emboss your chosen sentiment to your designer series paper square. I chose silver as it coordinates with the edged ribbon and rhinestones.
10) Glue to the centre of your frame.
11) Die cut your flowers from coloured card and place a mini dimensional to the centre of 3 of the flowers. These will be hidden by rhinestones later.
12) Place the flowers to the top corner and add rhinestones to the centre of the three flowers with dimensional behind them.


13)  If you are gifting or selling these at craft fairs they are easy to package up.
Simply place into a cellophane bag and staple closed. Fold over a piece of card stock, add some designer paper, and adhere down with some Tear & Tape.


A simple and easy project to put together, once you have all your parts ready. Will also make a nice gift for Mother's Day, to include in happy mail, or as a gift to a friend!
I hope you enjoyed reading about this project and do give it a go.

Happy Crafting,
 AMIE

Read more »